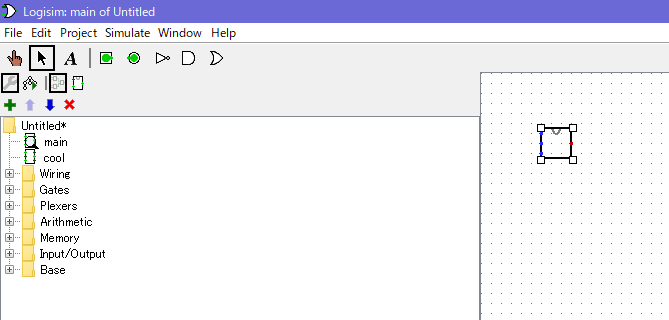
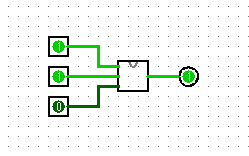
In C++, you learned how to make reusable code by means of functions. You were able to use a function to just do a specific task, and call that function whenever necessary. Logisim has this same functionality by allowing you to make "Subcircuits". These handy little modules will allow you to make a circuit, and then plot it into another circuit easily. It will appear as a square that has input and output spots corresponding to how many inputs and outputs the subcircuit has.
Let's look at the following C++ function:
Code (C++)
bool cool(bool a, bool b, bool c) {
	return (a && b) || (b && c);
}
Now let's look at its truth table (in a cool ASCII-ish way):
Truth Table
 a b c | S
-------+---
 0 0 0 | 0
 0 0 1 | 0
 0 1 0 | 0
 0 1 1 | 1
 1 0 0 | 0
 1 0 1 | 0
 1 1 0 | 1
 1 1 1 | 1
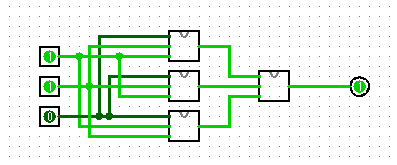
Looking at the code alone, we can also convert it to a Logisim circuit. So let's do that and start drawing spaceships in a circuiting program. Here's the twist though... Let's make it a subcircuit that we can call later on. To do this, right click anywhere in the section to the left of the program that lists Wires, Gates, etc.
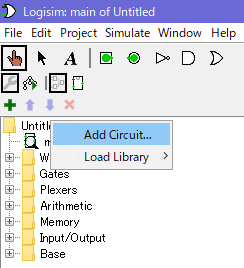
Click "Add Circuit..." and then give your new subcircuit a name (I named mine "cool", like the C++ function above). Then let's proceed with building that spaceship we were talking about earlier. Behold.
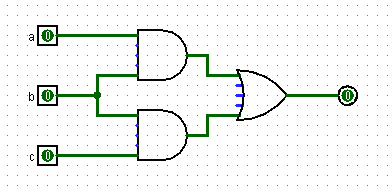
Okay that's done. Now let's go to the "main" circuit. On the left of your screen, you should see both "main" and your new subcircuit's names appear. Just
double click the one you want to see. You have successfully learned how to make multiple circuits in a single Logisim project!


