SETTINGS
Appearance
Language
About

Settings

Select a category to the left.

Appearance

Theme

Light or dark? Choose how the site looks to you by clicking an image below.

Light Dark

Language

Preferred Language

All content on utk.claranguyen.me is originally in UK English. However, if content exists in your preferred language, it will display as that instead. Feel free to choose that below. This will require a page refresh to take effect.

About

"utk.claranguyen.me" details

Domain Name: claranguyen.me
Site Version: 3.0.1
Last Updated: 2019/08/18
Introduction
The terminal is one of the most useful tools on a UNIX-based Operating System that you will ever use. If you are in Computer Science, you'll be using it for a majority of your classes, starting all the way at CS102. This guide is designed to help get you accommodated to it as effectively as possible.

Before we begin: I will assume that you have a terminal emulator of some kind. There are many terminals available and which one you use depends on your Operating System.
  • For Windows, UTK recommends MobaXTerm. I use git-bash (MINGW64 / MinGW). There are a few options so pick whatever works.
  • For Mac, you have the terminal built in. But iTerm2 is pretty nice from what I heard.
  • For Linux, you have the terminal built in... but you have many options as well: gnome-terminal, xterm, st, konsole, yakuake, etc. Pick whichever one you like. Hydra and Tesla come with gnome-terminal. Personally, I use Konsole.
Table of Contents
This is a huge guide, I know. It's constructed so you can go back to certain parts of it if you need quick notes. Click any of these sections to go to a part of the guide:
  1. Introduction
  2. Table of Contents
  3. The Terminal
  4. Tutorial: Compiling and Executing a program
  5. Tutorial: Remote connecting to a computer
  6. Tutorial: Vim, the almighty text editor
  7. Tutorial: Copying files to and from a remote computer
The Terminal
Behold:

The terminal is rather... "lacking" of a GUI (Graphical User Interface). That doesn't mean that you won't be productive on it though. Chances are that, once you get used to the terminal, you'll be more productive on it than you were without the terminal.

The basis of the terminal can be intimidating at first, but it's relatively simple. You just type in a (valid) command and it does work. Your GUI actually executes these commands in the background for you, but now you're going to be doing it yourself.

The Cheatsheet

Feel free to explore around and try out various commands. Here are a few that I recommend you to be familiar with:

Command Description Usage(s) Example
ls Lists files in current directory... or a directory specified ls
ls FOLDER_NAME
ls
cd Change Directory (literally).
Move to a different directory. You start out in your "~" directory (your home directory) and use "cd" to move to a different one.
cd FOLDER_NAME cd FOLDER
cd ../
mkdir Make Directory (literally).
Create a directory (folder).
mkdir FOLDER_NAME
rm Remove (literally)/Delete.
Delete/remove a file or a directory. If you try it on a folder, you must add "-r" as a parameter.

WARNING: Once you delete a file, it's gone. You're not getting it back.
rm FILE_NAME
rm -r FOLDER_NAME
mv Move (literally)/Rename.
Move a file or a directory. It also serves as the way to rename a file to another name.
mv OLD_NAME NEW_NAME
man Manual (literally).
Type this along with another command and (usually) a page will appear telling you how to use that command. It is, as the name implies, a manual page that is a quick resource for help. Press "q" to quit "man" when it's open.
man COMMAND_NAME man ls
man gcc
diff Difference (literally).
Will tell you the difference between two files. If there is no difference, nothing is printed out.
diff FILE1 FILE2
nano Nano (literally) Text Editor.
Dr. Marz's preferred Terminal Text Editor. Commands are shown at the bottom of the screen (e.g. Ctrl+X = Exit).
nano FILE
vi/vim Vim (literally) Text Editor.
My preferred (and clearly superior) text editor. Vim is very powerful but it also takes some time to get used to compared to Nano. You'll use it in CS140 and CS302.
vi FILE
vim FILE
gedit Gedit (literally) Text Editor.
This one actually isn't a terminal application. It will execute a graphical text editor kind of like TextEdit on Mac and Notepad on Windows. However, you cannot use your terminal while Gedit is open.
gedit FILE
g++ A C++ Compiler.
You will be using this for pretty much your entire time here. It will make an executable from your C++ source code files.
g++ -o EXECUTABLE SOURCE g++ -o test test.cpp
ssh Secure Shell.
Allows you to remotely connect to other machines. i.e., connect to UTK's Hydra machines from your own personal computers.
ssh USERNAME@ADDRESS ssh cnguyen@hydra0.eecs.utk.edu

Demonstration

Here's a live demonstration of how to use the terminal. Here, I make a directory named "cs130", then a directory named "lab0" inside of it. Then inside of "lab0", I make 2 C++ programs named "test1.cpp" and "test2.cpp". I also show how to compile and run them in the Terminal.


Tutorial: Compiling and Executing a program
Okay so you've written your first program and you want to run it. In an IDE of some kind, you simply hit the "Compile & Run" button and it just works for you. However, how does that IDE actually do that? It runs a series of commands behind-the-scenes which compiles the program for you and then launches it. Doing this yourself, though, may not be so trivial. There are 2 steps:

Step 1: Compilation

In our command cheatsheet above, we actually have a command that is a C++ compiler... g++.

Let's say that you have "main.cpp" and you want to make "main"... okay that's simple.
UNIX Command
g++ -o main main.cpp
This will make "main", your executable file, from "main.cpp", your source file. Pay attention to the "-o" argument!!! If you put "main.cpp" right after -o instead of "main", your source code will be obliterated! Whatever argument comes right after the "-o" parameter is the executable name. Anything else is source code files.

In other words, do NOT do this!!!
UNIX Command
g++ -o main.cpp main
Ahem, now that's off my chest, let's move on.

Step 2: Execution

Okay so you have your shiny new "main" executable. You can try the naive approach of just typing "main" in the terminal if you like... however, it will fail (in most circumstances). The valid approach is to put "./" in front of the executable name. Therefore:
UNIX Command
./main
This is telling the terminal "Run "main" that exists in this current directory" (remember that "." means "current directory"). There are many reasons for this, but the first one that comes to my mind is that you can write an executable with the same name as a linux command (i.e. ls), and have to distinguish between Linux's ls and your own ls.

Executing with arguments

I'm not sure how it was with an IDE (ahem, CodeLite) to put in Command Line Arguments, but let's keep this plain and simple. Let's say I had the following C++ program ("main.cpp"... again):
Code (C++)
#include <iostream>

using namespace std;

int main(int argc, char* argv[]) {
	for (unsigned int i = 0; i < argc; i++)
		cout << argv[i] << endl;
}
This program will print out arguments passed in to it. That doesn't sound bad... but how do we actually pass those in?
UNIX Command
./main arg1 arg2 arg3...
Yeah... you literally just put the arguments right after the executable name. And the output:
Output
./main
arg1
arg2
arg3
Tutorial: Remote connecting to a computer
If you had me as your TA in lab, you'll probably remember all of those times that I remotely connected to school computers to do certain tasks. UTK gives their EECS students access to Hydra and Tesla lab computers, and gives them accounts that they can log in either locally, or remotely. Logging in remotely will allow you to do work on those machines from anywhere.

The best part is convenience. You can be at home, or even in another country and you can still remote in to that computer with either it's IP Address or an address that resolves to an IP Address (this is called a hostname).

So let's get into it. The command is:
UNIX Command
ssh USERNAME@ADDRESS
Sounds simple right? Let's say that someone by the username of "cnguyen" (me) wanted to sign in to "hydra0.eecs.utk.edu".
UNIX Command
ssh cnguyen@hydra0.eecs.utk.edu
It will prompt you for your password (which will not show. It'll be blank). Once you type it in, you're good to go. Any commands you type will be run on that computer.

"So I can get into any computer and hack it? Muhahaha"

Nope. If you noticed in my lab sessions, my IP Address shows at the bottom right of my screen. However, good luck signing in to it.
  1. That machine must have SSH set up (if it's Windows, you don't stand a chance).
  2. If it is set up, you have to figure out which port I use to accept SSH connections.
  3. You have to have a valid user account on that machine... or know a valid user on that machine.
  4. If that machine doesn't accept RSA, you have to know my password. If it does have RSA, there's no password prompt, and you'll never get in without some ridiculously huge key file.
Hydra and Tesla labs at UTK have SSH set up so that each user can sign in. Therefore, it's easy for you to get in because you just put in your NetID and password. It's all set up for you, but you won't get your "Hollywood epicz ez haxor" moments from SSH.
Tutorial: Vim, the almighty text editor
In a very specific lab session (CS130 Fall 2017, Lab 1), we asked you to type in gedit to open up a graphical text editor. Unfortunately, whenever you do work remotely, everything is via the terminal. You will not have the choice to use the graphical user interface. So gedit won't work. Thankfully, there are terminal based text editors that will help you get the job done... and they are typically more powerful than the graphical ones anyways. Introducing vim...

Startup

Vim can be very intimidating at the start, because it's unorthodox to the average user. But it has some true power behind it. 
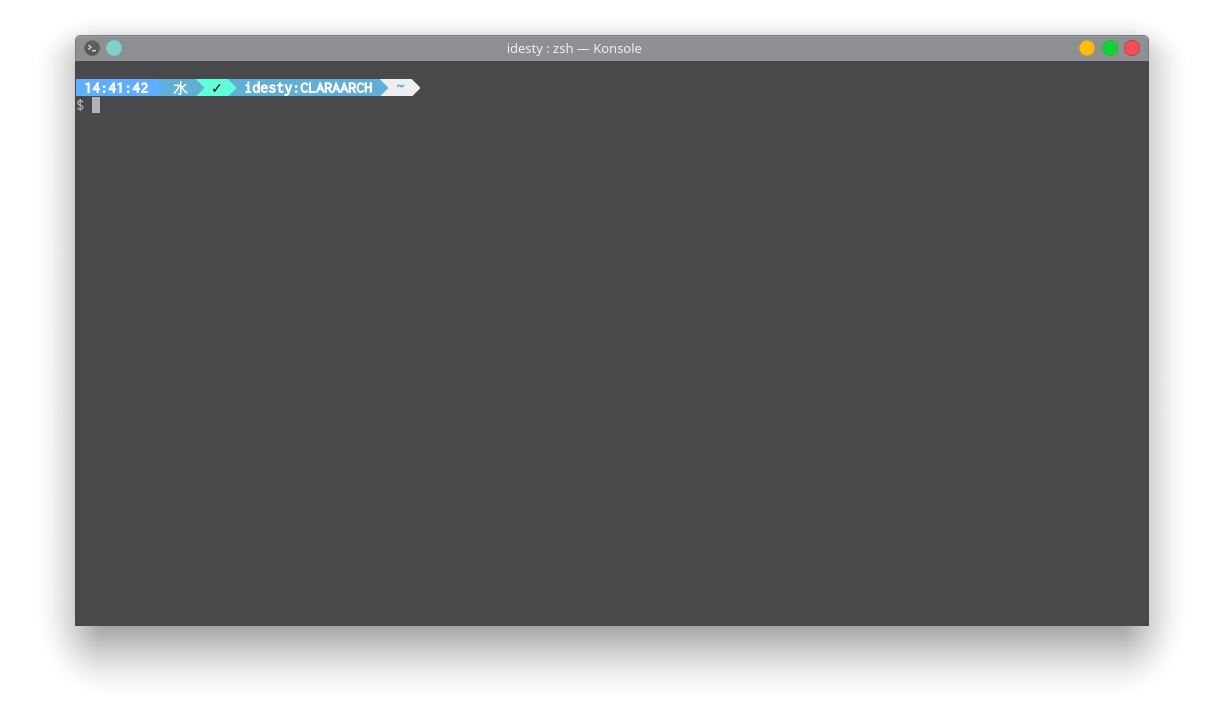
To begin, let's open it up. Type the following command:
UNIX Command
vi test.cpp
Note: vi and vim are not the same (the latter improves on the former immensely). However, on most machines out there, vi is aliased to vim.


So you opened up Vim, but now you're presented with a blank screen!

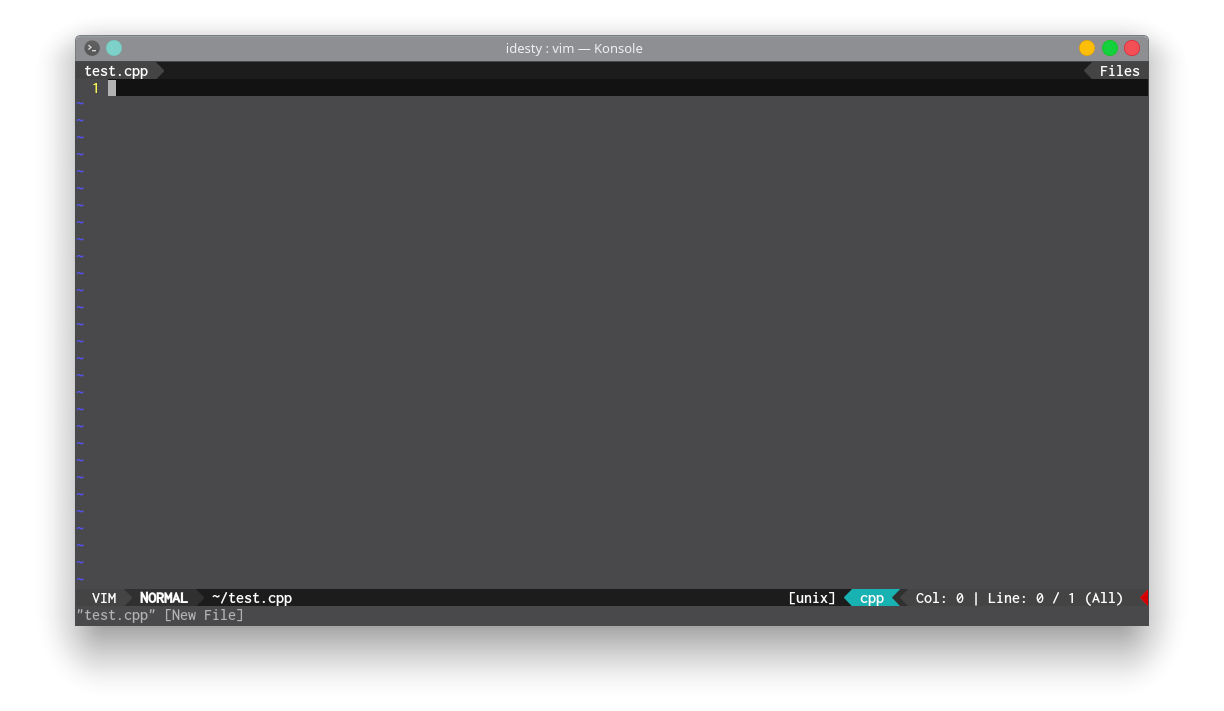
"My Vim doesn't look like yours! What gives?"

Someone asked me about this in lab so I figured I'd mention it here. Applications such as Vim allow the user to customise how it looks. I wrote my own theme for it, but the functionality is the exact same as yours.

Control Cheatsheet

Vim isn't like a normal text editor, but its own controls have become popular enough that other text editors have a "Vim mode". Your controls are based on what "mode" you are in. Here is a list of common modes:
  • Normal Mode: This is the mode you start out in. You may use the arrow buttons (or Vi's HJKL setup)
  • to navigate around. You may also press the colon button ":" ("Shift + ;" on USA keyboards) in order to input a command (more on that below). Press "i" to enter Insert Mode, etc.

  • Insert Mode: Pressing "i" while in Normal Mode triggers this mode. This is where Vim acts like a text editor that you're used to. Type stuff on your keyboard and it types. Press Esc to exit Insert Mode and go back to Normal Mode.

  • Visual (and Visual Block) Mode: Pressing "v" while in Normal Mode triggers this Visual Mode. Pressing "V" will trigger Visual Block Mode. I will cover these in a more advanced guide.
In Normal Mode, you have commands which you can execute by typing in the ":" character. The only essential ones you need to know are "w", "q" and "q!".

Command Description Usage(s)
:w Writes a file to the disk. :w
:q Quits Vim. If you made changes to a file, you must put "!" after in order to quit without saving changes. Otherwise it'll refuse to quit. :q
:q!
:wq Writes to disk, and then Quits Vim. :wq

When in Normal Mode, you can also perform copy and paste of lines easily. There are a few other things you can do too such as deleting, and repeating actions done in Insert Mode. I showed these in lab too. Note: These do not use ":". They are commands bound to buttons in Normal Mode that do not require it.

Command Description
i Triggers Insert Mode.
v Triggers Visual Mode.
V Triggers Visual Block Mode.
yy Yank. Grabs a line and puts it in clipboard (For Copy and Paste).
y2y Yank. Grabs 2 lines and puts them in clipboard (For Copy and Paste).
cc Cut. Grabs a line and puts it in clipboard (For Cut and Paste). It will also delete that line.
c2c Cut. Grabs 2 lines and puts them in clipboard (For Cut and Paste). It will also delete those lines.
dd Delete. Deletes the current line.
d2d Delete. Deletes 2 lines starting from the current one.
p Paste. Pastes whatever was inside the clipboard from the above commands.
u Undo. Undoes the last action performed.
C-r (Ctrl+R) Redo. Redoes the last action performed if undone.
. Any changes done in Insert Mode are done again.

You can also do string replacement via regular expression commands, but I do not expect you to remember these. I showed these in lab.

Command Description
:s/old/new Substitution. Replaces one case of old with new.
:%s/old/new Substitution. Replaces one case of old with new... for each line (%).
:s/old/new/g Substitution. Replaces ALL (g) cases of old with new in a line.
:%s/old/new/g Substitution. Replaces ALL (g) cases of old with new in a line... for ALL lines (%).

In case you can't see the pattern... % means the expression will take effect on all lines... once. g at the end means that the expression will replace all cases on a single line. If you combine them, you get it affecting all cases on all lines.

I'll make a more in-depth Vim guide whenever the time comes. Since this is the basics for the terminal, I won't focus much more on Vim.
Tutorial: Copying files to and from a remote computer
Disclaimer: Before you read all of this... If you really don't want to copy files over through the terminal, you can find tools like Filezilla or even MobaXTerm to copy the files over for you. But there are those (me) who prefer to do everything without needing separate applications, or may not have a choice but to use the terminal. It's good to know of a terminal-only solution for such events.

Okay, so I taught you how to remote connect to Hydra and Tesla above. But there is a command (which is not actually listed in the command cheatsheet above) which will allow you to copy files to and from remote places easily. It isn't in the list above because it's a bit... special. Introducing scp.
UNIX Command
scp FROM_PATH TO_PATH
In either the FROM_PATH or the TO_PATH, you may either specify a file locally by just typing the name, or by using a special format string to tell scp you want to point to a directory or file on another remote machine. That special format string is:
UNIX Command
username@server_address:path
I even coloured it nicely for you!

How it works

You can use scp just like cp, except it also allows you to copy files from remote places such as Hydra. The best way is to teach by example.

Example: Copy a file from a remote computer to your own

Let's say I have a file on hydra0.eecs.utk.edu, in my home directory (~), named "test.cpp" and I wanted it moved over to whatever directory I was currently in.
UNIX Command
scp cnguyen@hydra0.eecs.utk.edu:~/test.cpp .
Let's break this down:

Text Description
scp The name of the command...
cnguyen@hydra0.eecs.utk.edu:~/test.cpp The address we are connecting to (just like ssh). Followed by the path to a file in our home directory. "~" is a shortcut to "/home/USERNAME/" so this expands out to "/home/cnguyen/test.cpp".
. (Yes, that's a dot.) Path to current directory we are in (on our local machine).

So as you noticed, there's a special format going on there. It's ADDRESS:PATH for something that is remote. So for hydra0.eecs.utk.edu and ~/test.cpp, you combine them with : in between... making hydra0.eecs.utk.edu:~/test.cpp to tell scp "I am pointing to this file on hydra0".

Example: Copy a file from your machine to a remote computer

Let's reverse the previous example. Say I have a file in my folder named "test.cpp" and wanted to move it to my home directory at "hydra0.eecs.utk.edu"... worry no more.
UNIX Command
scp test.cpp cnguyen@hydra0.eecs.utk.edu:~/
This is saying "Copy test.cpp to the machine at cnguyen@hydra0.eecs.utk.edu and put it in our home directory there.". The path breakdown in the previous example holds true here too.
Guide Information
Basic Information
Name: Introduction to the Terminal
Description: Because you'll need it to do cool stuff
ID: terminal_intro
File Information
File Size: 28.21 KB (28886 bytes)
Last Modified: 2019/08/18 00:26:56
Version: 1.3.0
Translators
en-gb Clara Nguyen (iDestyKK)